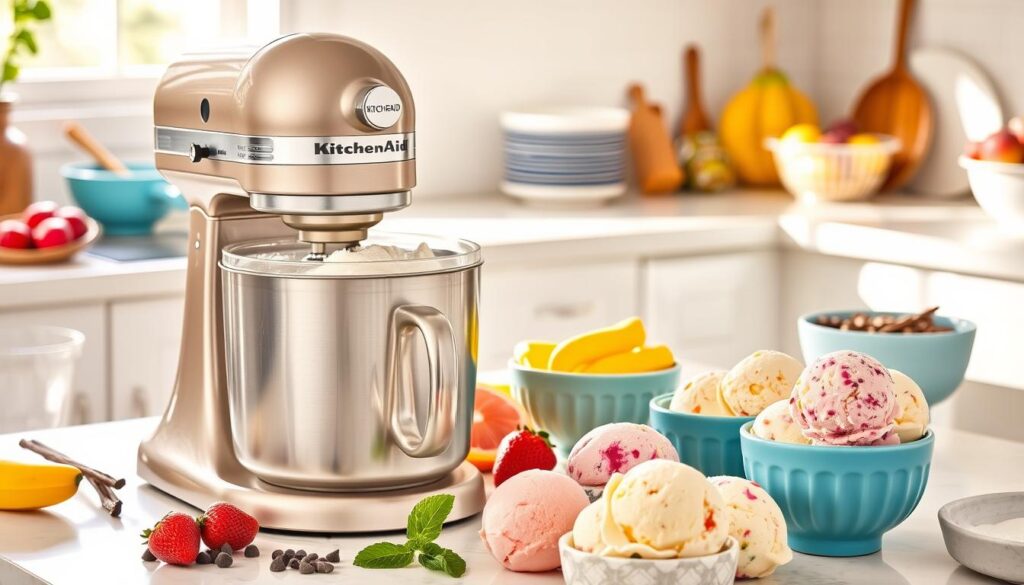
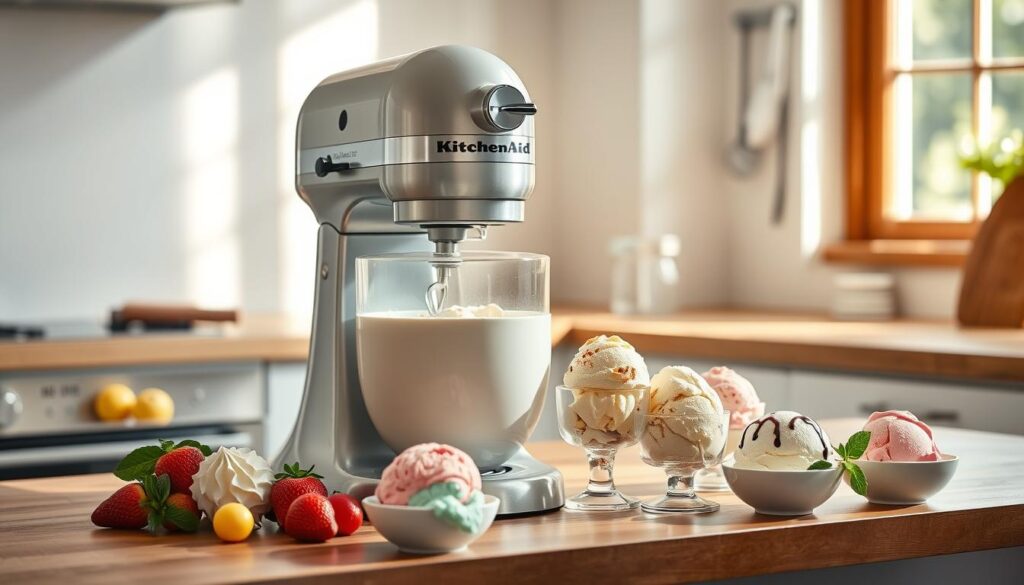
Walking into the kitchen, you feel excitement. You look at your KitchenAid stand mixer and know you can make the best homemade ice cream. This recipe is a labor of love, showing the joy of making something from scratch.

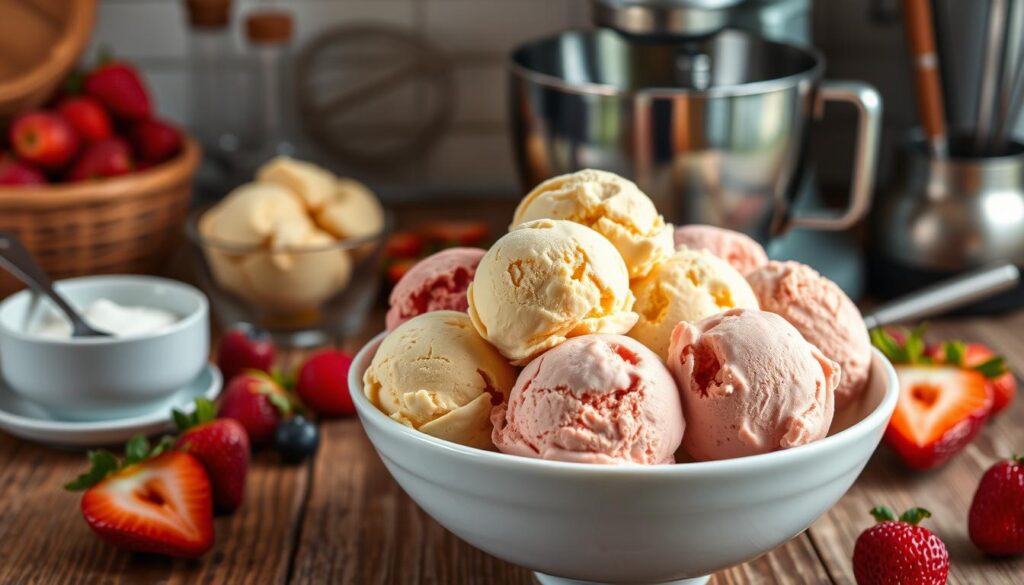
In a few easy steps, you’ll make rich, velvety vanilla ice cream. It has real vanilla bean specks that make your tongue dance. The mix of heavy cream and whole milk gives it a smooth texture. A little sweetness and sea salt make the flavors pop.
This ice cream base is perfect for desserts or enjoying on its own. It’s the secret to homemade frozen bliss.
Key Takeaways
- Discover the easy way to make creamy homemade ice cream using your KitchenAid stand mixer attachment.
- Achieve soft-serve consistency in just 20 minutes, perfect for quick frozen treats.
- Customize the vanilla ice cream base with a variety of toppings and mix-ins to create your own unique flavors.
- Enjoy the satisfaction of indulging in a homemade dessert made with high-quality ingredients.
- Impress your family and friends with your newfound ice cream-making skills.
Why Make Homemade Ice Cream with KitchenAid
Making homemade ice cream is now easier with the KitchenAid ice cream maker attachment. This kitchen appliance makes the process simple. You can make delicious, creamy ice cream at home. It’s great for both experienced cooks and beginners.
Benefits of Using KitchenAid Ice Cream Maker
- Convenience: The KitchenAid attachment turns your stand mixer into a powerful ice cream maker. You don’t need a separate bulky appliance.
- Time-saving: With the KitchenAid, making homemade ice cream takes only 20-30 minutes. This is much faster than traditional methods.
- Cost-effective: The KitchenAid ice cream maker attachment costs about $70. It’s more affordable than dedicated ice cream makers.
Quality Control Over Ingredients
One big advantage of making homemade ice cream with the KitchenAid is controlling the ingredients. You can choose the ingredients you like, avoiding artificial additives and preservatives. This way, you can make healthier, more natural, and personalized ice cream flavors.

Time and Cost Savings
The KitchenAid ice cream maker saves time and money. It can make a batch of homemade ice cream in 20-30 minutes. This is much faster than traditional methods. Plus, the ice cream maker attachment is affordable, costing around $70.
Essential Equipment and Kitchen Tools
Making delicious homemade ice cream with your KitchenAid stand mixer is easy with the right tools. You’ll need the KitchenAid ice cream maker attachment, a double-insulated freezer bowl, and a strong mixing paddle.
The KitchenAid ice cream maker attachment lets you make your favorite frozen treats in 20 minutes or less. Just attach it to your KitchenAid stand mixer, and let it churn for you. You’ll also need a double-insulated freezer bowl to keep the ice cream mixture at the right temperature.
Other tools you’ll find useful include a big mixing bowl for the ice cream base, a whisk for mixing, and an airtight container for storing your ice cream. With these kitchenaid ice cream maker and ice cream tools, you’ll be making tasty homemade ice cream in no time.
“Having the right equipment makes all the difference in the world when it comes to making ice cream at home. The KitchenAid attachment is a game-changer!”

The KitchenAid Ice Cream Churner attachment costs about $70. This is cheaper than most standalone ice cream makers. With this attachment, you can try many ice cream flavors and mix-ins right in your kitchen.
Understanding Ice Cream Base Styles
There are two main ice cream base styles: Philadelphia-style and French custard-style. Knowing the difference helps you make the perfect ice cream. It’s all about what you like.
Philadelphia-Style vs French Custard Base
Philadelphia-style ice cream is light and easy to make. It doesn’t have egg yolks. This makes it quick to make.
French custard-style ice cream is richer and creamier. It has cooked egg yolks. It takes more work but tastes amazing.
Dairy-Free and Vegan Alternatives
For those who don’t eat dairy or follow a vegan diet, there are great options. These use nut milks, coconut cream, and more. They’re creamy and delicious without dairy.
No-Churn Options
You can make ice cream without an ice cream maker. Whip cream or mix frozen fruit with sweetened condensed milk. This way, you get smooth ice cream without special tools.
| Characteristic | Philadelphia-Style | French Custard-Style | Dairy-Free/Vegan | No-Churn |
|---|---|---|---|---|
| Egg Content | No eggs | Egg yolks | No dairy | No eggs or dairy |
| Texture | Light and smooth | Rich and creamy | Creamy (depending on ingredients) | Smooth and scoopable |
| Preparation Time | Quicker | Longer | Varies | Minimal |
| Specialized Equipment | Ice cream maker | Ice cream maker | Varies (can be made without an ice cream maker) | No ice cream maker required |
“Whether you prefer a light and airy Philadelphia-style or a decadent French custard-style, the world of homemade ice cream offers endless possibilities to satisfy your sweet tooth.”
Basic kitchenaid ice cream recipe
Discover the secret to making creamy, delicious homemade ice cream with this simple KitchenAid recipe. It’s perfect for both beginners and experienced cooks. You’ll be making kitchenaid ice cream recipe and homemade ice cream that will wow everyone.
To begin, you’ll need a few basic ingredients:
- 2 cups heavy cream
- 1 cup whole milk
- 3/4 cup granulated sugar
- 1 tablespoon vanilla extract
- A pinch of salt
Mix all the ingredients in a bowl until the sugar dissolves. Then, chill the mix in the fridge for at least 30 minutes. After chilling, pour it into your KitchenAid ice cream maker. Let it churn for 20-25 minutes, until it’s just right.
Once churned, move the ice cream to a sealed container and freeze for 4 hours. This recipe makes about 1 quart of creamy homemade ice cream.
Making ice cream at home with a stand mixer takes about half an hour. But with the KitchenAid ice cream maker, it’s done in just 20-25 minutes. This makes it a quick and simple way to enjoy homemade treats.
“The KitchenAid Ice Cream Maker contributes to the enjoyment of fresh homemade ice cream that can be personalized with various flavors.”
So, grab your KitchenAid and start making your own kitchenaid ice cream recipe and homemade ice cream creations!
Key Ingredients for Perfect Texture
To make homemade ice cream creamy and delicious, you need the right ingredients. Heavy cream and whole milk are key. They give ice cream its rich, smooth texture.
Role of Heavy Cream and Whole Milk
Heavy cream has 36-40% butterfat, making it creamy. Whole milk adds more creaminess and a smooth finish. The best mix is 2 parts heavy cream to 1 part whole milk.
Sweeteners and Stabilizers
Sugar is important for ice cream. It sweetens and helps prevent ice crystals. Use 1/2 to 3/4 cup of sugar for the best texture.
Other sweeteners like honey, maple syrup, and brown sugar add different flavors. Egg yolks are also crucial in custard-style ice creams. They make the ice cream dense and creamy.
Flavoring Options
Vanilla bean paste or extract is a classic choice. It adds a warm, fragrant taste. But you can also try roasted banana, toasted pecans, brandied cherries, or chocolate ganache.
By balancing ingredients and using the right techniques, you can make perfect homemade ice cream. This is true whether you use a KitchenAid or any other ice cream maker.
Step-by-Step Churning Process
Making homemade ice cream with your KitchenAid mixer is fun and rewarding. First, freeze the ice cream bowl for at least 15 hours. Some models need up to 24 hours for the best freeze.
When the bowl is ready, pour your chilled ice cream base into it. Attach it to your KitchenAid stand mixer. Set the speed to low and churn for 20 to 25 minutes. This makes the ice cream soft-serve and smooth.
After churning, move the ice cream to an airtight container. Put it in the freezer for at least 4 hours. This step makes the ice cream scoopable and perfect for serving.
| Ingredients | Quantity |
|---|---|
| Heavy Cream | 2 cups |
| Whole Milk | 1 cup |
| Granulated Sugar | 1/2 – 3/4 cup |
| Vanilla Extract | 1 tablespoon |
With your KitchenAid ice cream maker, making delicious homemade ice cream is easy. You’ll impress everyone with your skills. Start churning and become an ice cream master!
“The key to perfect homemade ice cream is patience and attention to detail. Trust the process, and you’ll be rewarded with a frozen treat that’s truly out of this world.”
Troubleshooting Common Ice Cream Issues
Making perfect homemade ice cream is an art. Even experts face challenges. Let’s tackle common problems and solutions for a great KitchenAid ice cream experience.
Preventing Ice Crystals
Ice crystals ruin the texture of homemade ice cream. They often come from too much water in the recipe. It’s key to chill the mix well before churning.
Also, store the ice cream in a tight container. This keeps air out and prevents crystals.
Achieving Proper Consistency
The texture of your ice cream depends on churning time and ingredients. If it’s too soft or hard, tweak the recipe. Longer churning adds air for creaminess.
Balance is crucial. Use the right mix of heavy cream and stabilizers for the best ice cream texture.
Storage Solutions
Storing ice cream right keeps it fresh. Don’t freeze it in the bowl, as it gets hard. Move it to a tight container instead.
Put plastic wrap on top to stop crystals. Store it in the coldest freezer spot for the best results.
By solving these homemade ice cream problems, you’ll make smooth, creamy treats at home.
Creative Flavor Variations and Mix-ins
Try new things with your homemade ice cream. Move past vanilla and chocolate. Explore endless possibilities. Whether you’re experienced or new, these tips will help you make unique ice cream at home.
Flavor Extracts and Purees
Use different extracts like almond, mint, or coffee instead of vanilla. These flavors can make your ice cream special. Add fruit purees like raspberries or mango for color and sweetness.
Crunchy and Chewy Mix-ins
Add crunchy or chewy bits to your ice cream. Try nuts, cookies, chocolate chips, or toffee. They contrast nicely with the creamy ice cream.
Unexpected Flavor Combinations
Be bold and try new flavor mixes. Use avocado, pumpkin, or earl grey tea for a unique taste. You can make ice cream that’s just right for you.
| Flavor Variation | Recommended Additions |
|---|---|
| Chocolate Chip Cookie Dough | Edible chocolate chip cookie dough, mini chocolate chips |
| Peanut Butter Cup | Peanut butter swirl, chopped peanut butter cups |
| Mint Chip | Mint extract, dark chocolate chips |
| Salted Caramel | Caramel swirl, flaky sea salt |
Let your creativity shine with ice cream flavors and mix-ins. The world of homemade ice cream is yours to explore. Make it your own with flavors you love.
Storage Tips and Serving Suggestions
Keeping your homemade ice cream fresh is key. Store it in an airtight container in the freezer for up to two weeks. For the best taste and texture, try to eat it within this time.
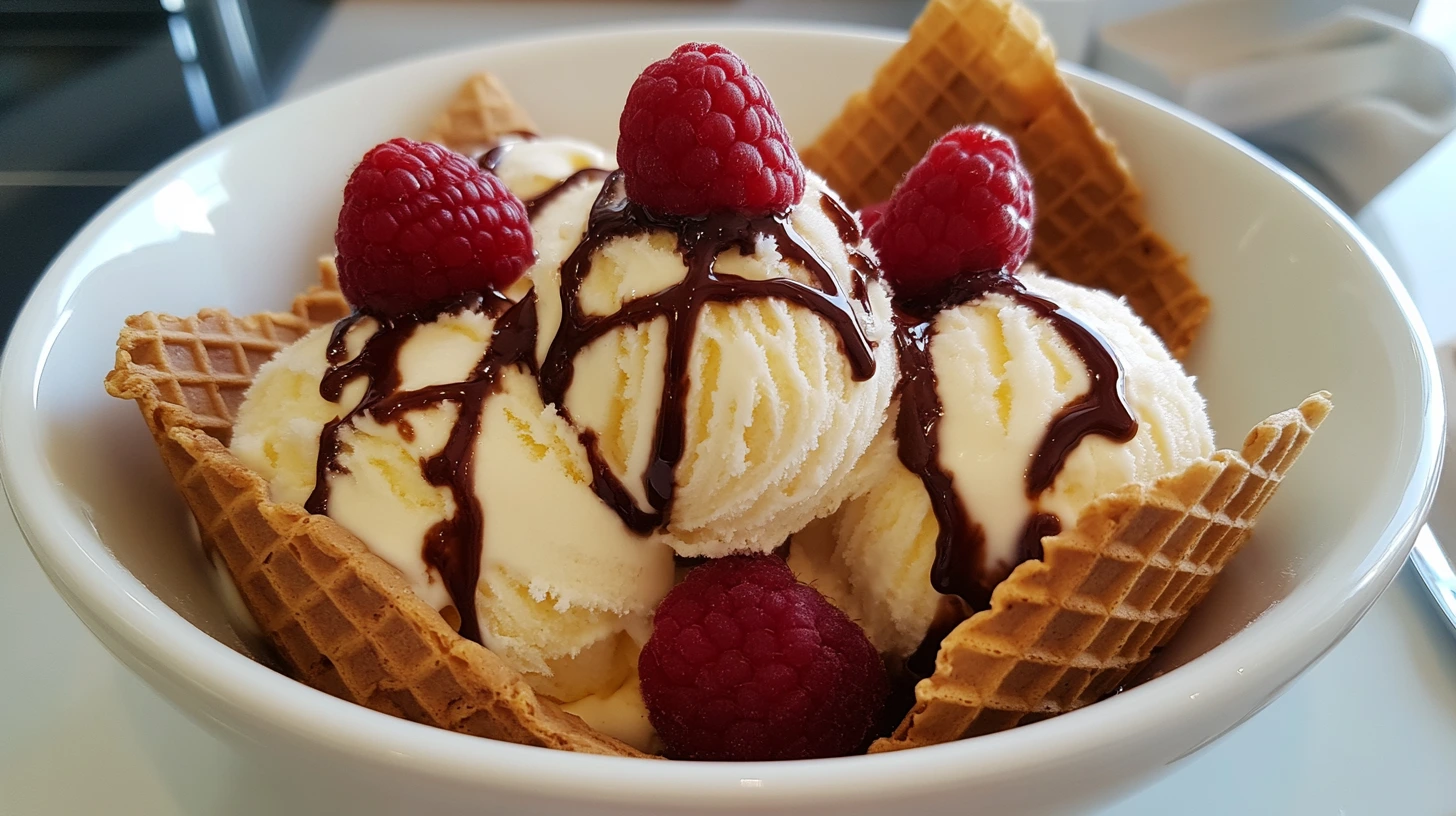
If your ice cream is too hard, let it sit at room temperature for 5-10 minutes. This will make it soft and scoopable. Enjoy it in cones or bowls, and pair it with desserts like peach cobbler or cake for a special treat.
- Store ice cream in an airtight container in the freezer for up to 2 weeks
- Let ice cream sit at room temperature for 5-10 minutes before scooping if it’s too hard
- Serve in cones or bowls, and consider pairing with desserts like peach cobbler or cake
By following these tips, you can enjoy your homemade ice cream for weeks. Savor every scoop and let the flavors take you to a world of frozen delight.
Conclusion
Making homemade kitchenaid ice cream recipe with a KitchenAid ice cream maker is easy and fun. This versatile appliance lets you make delicious, customized ice cream at home. By knowing the key ingredients and techniques, you can make ice cream as good as any store-bought.
Whether you like classic vanilla or want to try new flavors, the KitchenAid ice cream maker lets you choose. With a bit of practice, you’ll make creamy, smooth ice cream that everyone will love.
So, what are you waiting for? Get your KitchenAid ready and make some homemade ice cream today. The fun of making your own frozen treats is unbeatable.
FAQ
What is the basic KitchenAid ice cream recipe?
The basic recipe for KitchenAid ice cream is simple. You need 2 cups of heavy cream, 1 cup of whole milk, 3/4 cup of sugar, 1 tablespoon of vanilla extract, and a pinch of salt. Mix everything together, then chill it. Finally, churn it in the KitchenAid ice cream maker for 20-25 minutes.
What are the benefits of making homemade ice cream with a KitchenAid?
Making ice cream with a KitchenAid is easy and quick. It doesn’t need cooking and lets you control what goes into it. This means no artificial stuff. Plus, it’s cheaper and lets you try out new flavors.
What essential equipment is needed for making KitchenAid ice cream?
You’ll need a KitchenAid stand mixer with the ice cream maker attachment. Also, a double-insulated freezer bowl and a mixing paddle are key. You’ll also need a big bowl, a whisk, and a container to store it in.
What’s the difference between Philadelphia-style and French custard base ice cream?
Philadelphia-style ice cream doesn’t use eggs and is lighter. It’s easy to make and doesn’t need cooking. French custard base, on the other hand, uses cooked egg yolks for a richer taste and creamier texture. You can also make dairy-free and vegan ice cream using plant-based milk and cream.
What is the role of the key ingredients in KitchenAid ice cream?
Heavy cream and whole milk make the ice cream creamy. Sugar sweetens it and stops ice crystals. Vanilla adds flavor, and salt enhances it. Egg yolks in custard base improve the texture.
How do you properly churn and freeze KitchenAid ice cream?
First, freeze the ice cream maker bowl for 15 hours. Then, chill the ice cream base. Attach the bowl to the mixer and pour in the base. Churn for 20-25 minutes until it’s soft-serve. Freeze it for 4 hours before serving.
How can you prevent issues like ice crystals and improper consistency?
To avoid ice crystals, chill the mixture well and store it in an airtight container. Use the right ingredients and churning time for the right consistency. For storage, cover it well and put plastic wrap on the ice cream to prevent freezer burn.
What are some creative flavor variations and mix-ins?
Try different flavors by using extracts like almond or mint instead of vanilla. Add fruit purees, chocolate chips, nuts, or cookie pieces during churning. You can also make unique flavors like avocado or pumpkin ice cream.
How should homemade KitchenAid ice cream be stored and served?
Store homemade ice cream in an airtight container in the freezer for up to two weeks. Enjoy it within two weeks for the best taste and texture. If it’s too hard, let it sit at room temperature for 5-10 minutes before scooping. Serve it in cones or bowls, and consider pairing it with desserts like peach cobbler or cake.
Source Links
- Irresistible KitchenAid Ice Cream Recipe Delight – https://intellirecipes.com/irresistible-kitchenaid-ice-cream-recipe/
- HOMEMADE VANILLA BEAN ICE CREAM – https://tidymom.net/vanilla-bean-ice-cream-recipe/
- How to Make Ice Cream with the KitchenAid Ice Cream Attachment – https://justinesnacks.com/how-to-make-ice-cream-with-the-kitchenaid-ice-cream-attachment/
